Python IDE Installation Guide
Selecting the right Integrated Development Environment (IDE) is crucial for productivity. We recommend the following three options based on your background and project needs.
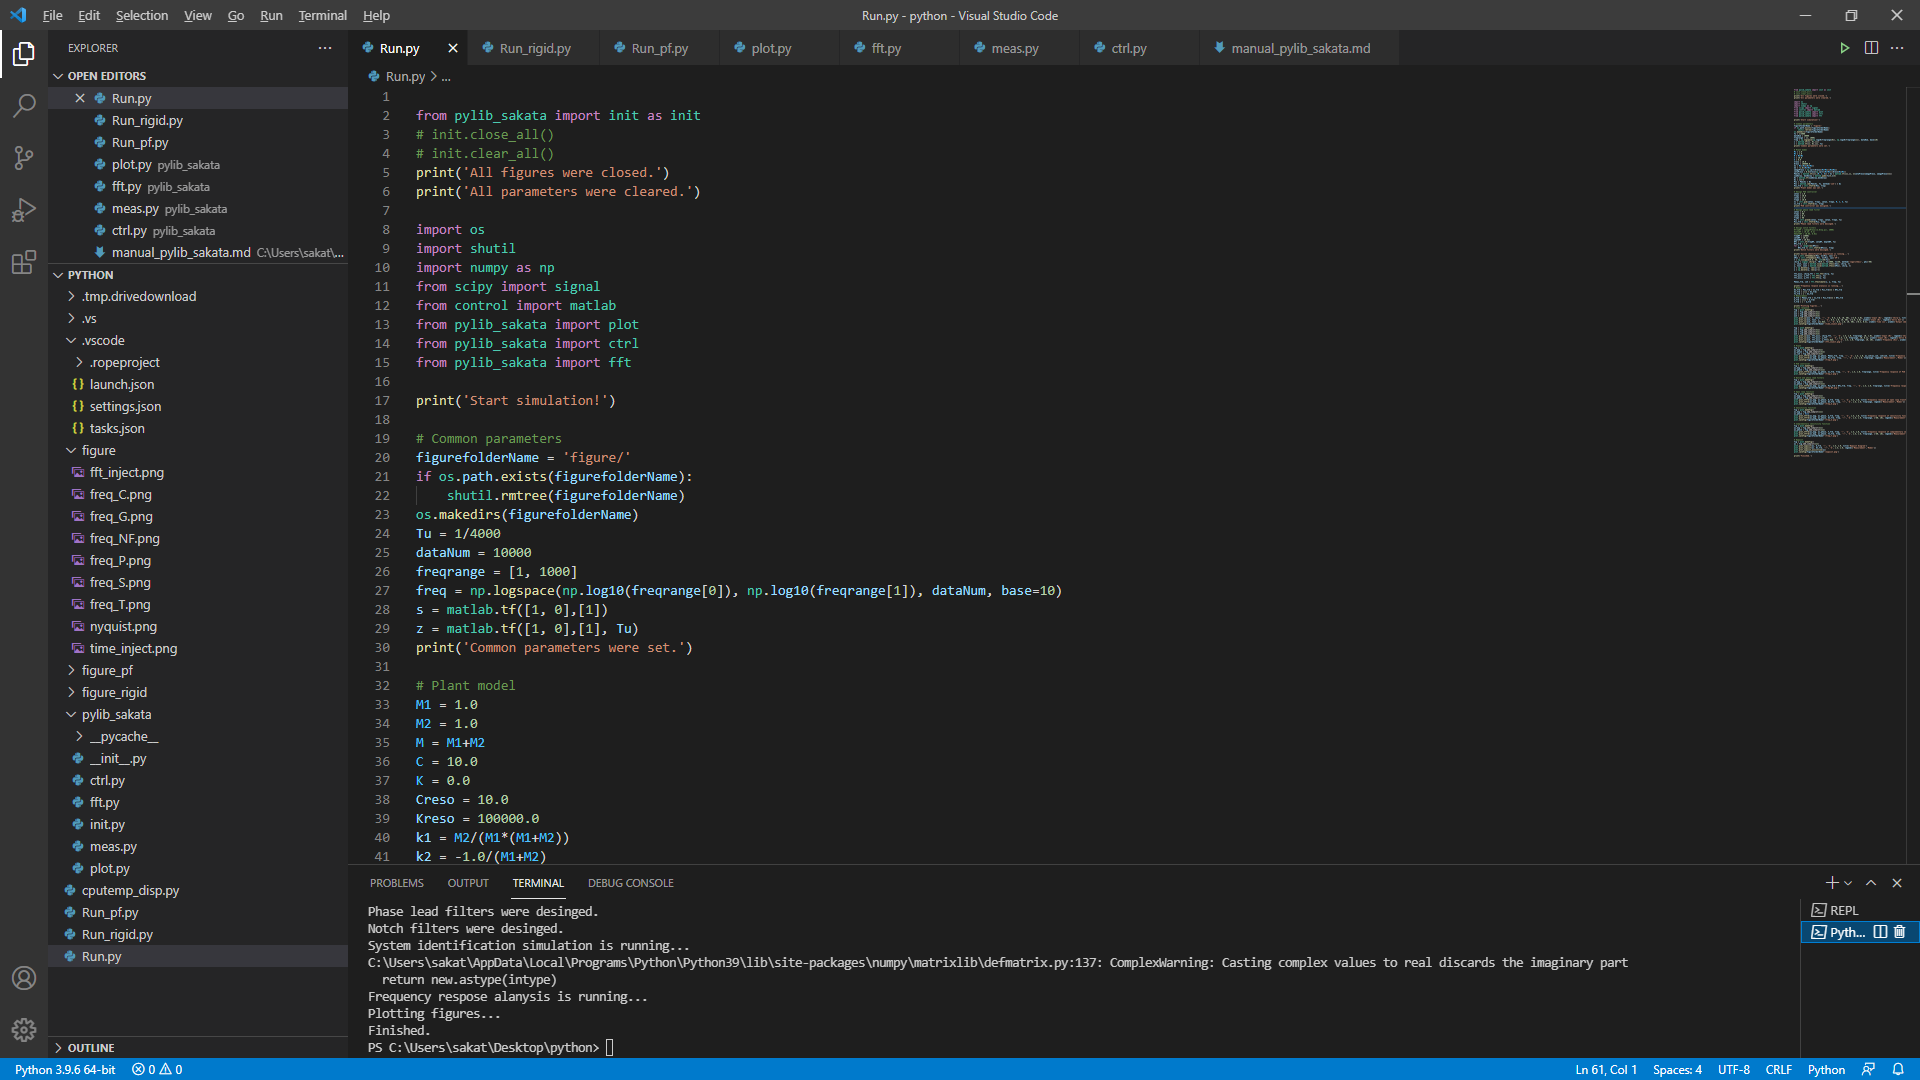
1 Visual Studio Code (VS Code)
While VS Code is technically a lightweight text editor, it transforms into a powerful Python IDE through extensions. It is highly recommended for its versatility and vast ecosystem.
1.1 Installation
Windows: Download the latest installer HERE.
Linux (Debian/Ubuntu): Run the following commands in your terminal:
$ sudo apt update
$ sudo apt install code
1.2 Initial Setup
- Install Python Extension: Open the Extensions view (Ctrl+Shift+X) and search for “Python” by Microsoft.
- Select Interpreter: Press
Ctrl+Shift+Pto open the Command Palette, type “Python: Select Interpreter”, and choose your installedpython.exe. - Pro Tip: You can also select the interpreter by clicking the Python version in the bottom-right status bar.
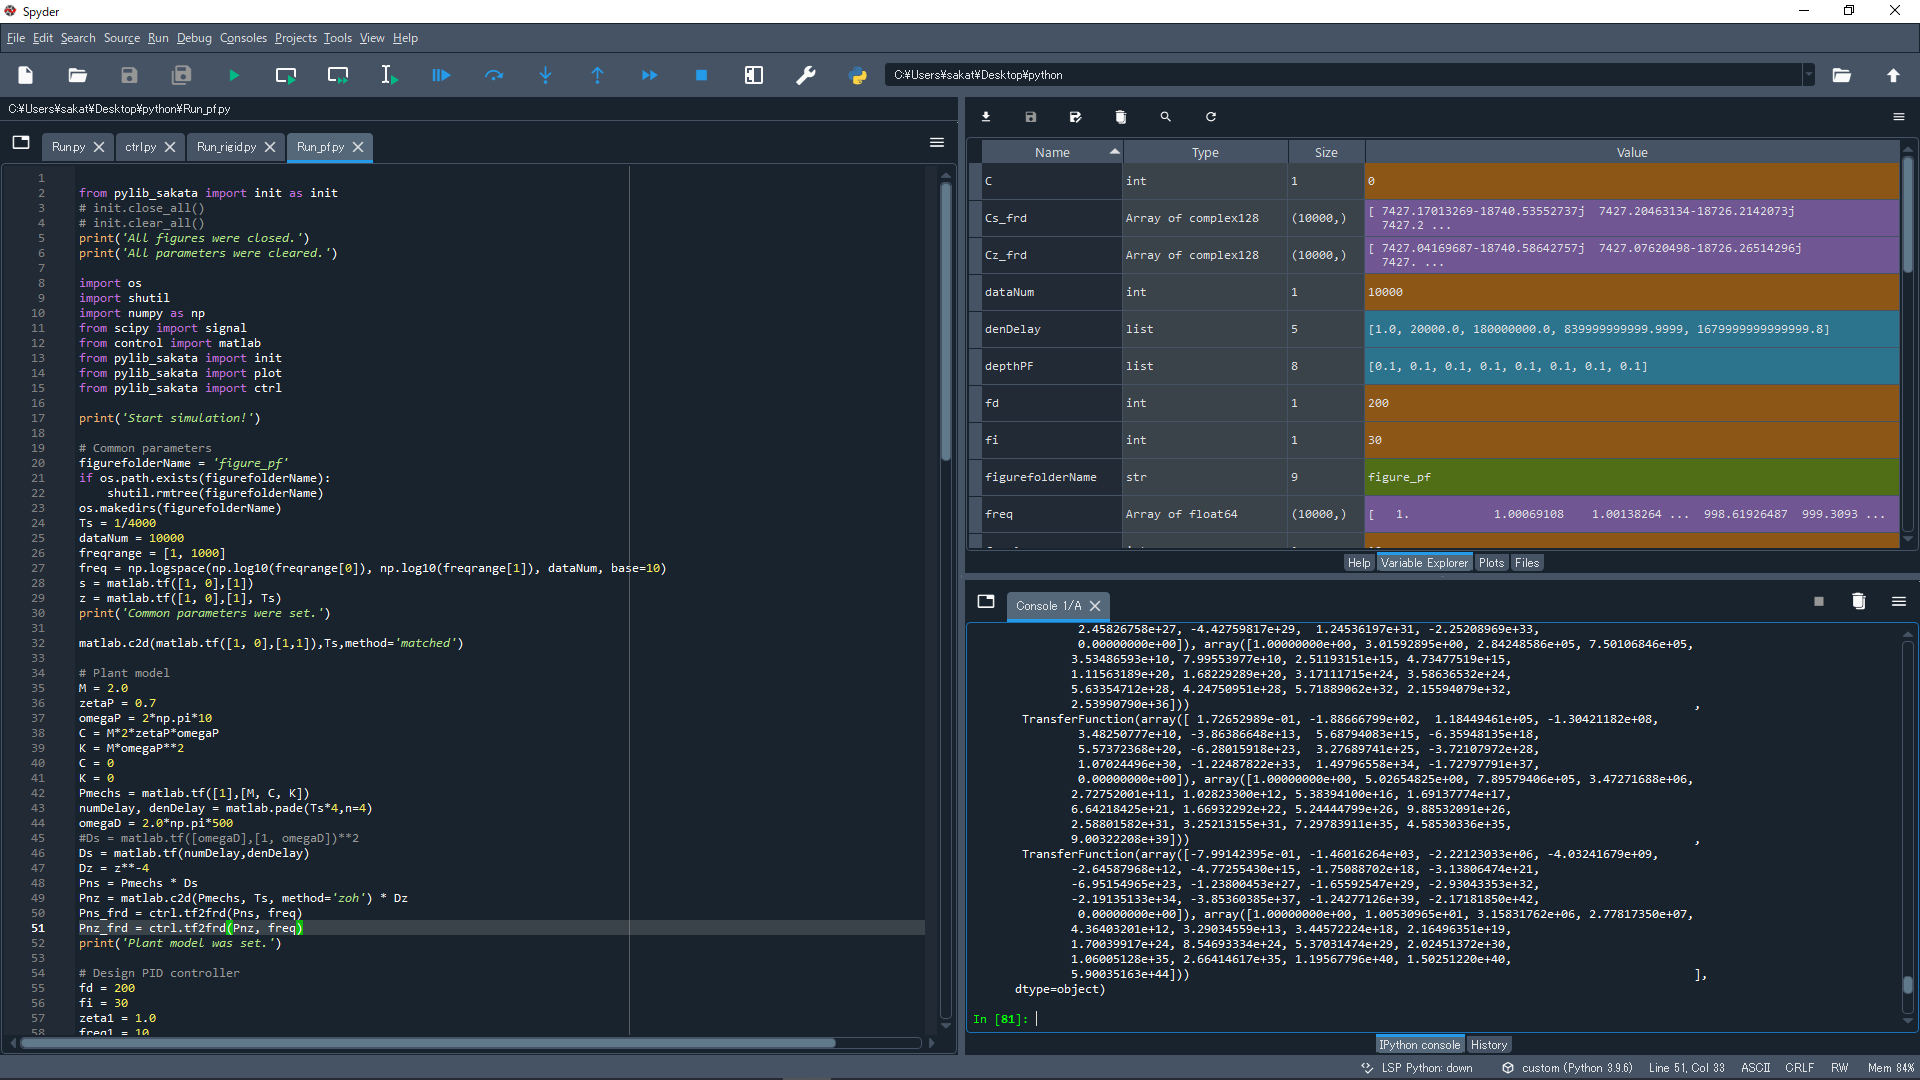
2 Spyder
Spyder is designed specifically for scientists and engineers, offering an interface similar to MATLAB. If you are transitioning from a data science or research background, Spyder is an excellent choice.
2.1 Installation
Windows: Download the standalone installer HERE.
Linux (Debian/Ubuntu): Run the following commands:
$ sudo apt update
$ sudo apt install spyder
2.2 Initial Setup
Navigate to Tools > Preferences > Python interpreter.
Select “Use the following Python interpreter”.
Browse to the path of your
python.exe.Ensure the
spyder-kernelspackage is installed in your Python environment:pip install spyder-kernelsRestart Spyder to apply changes.
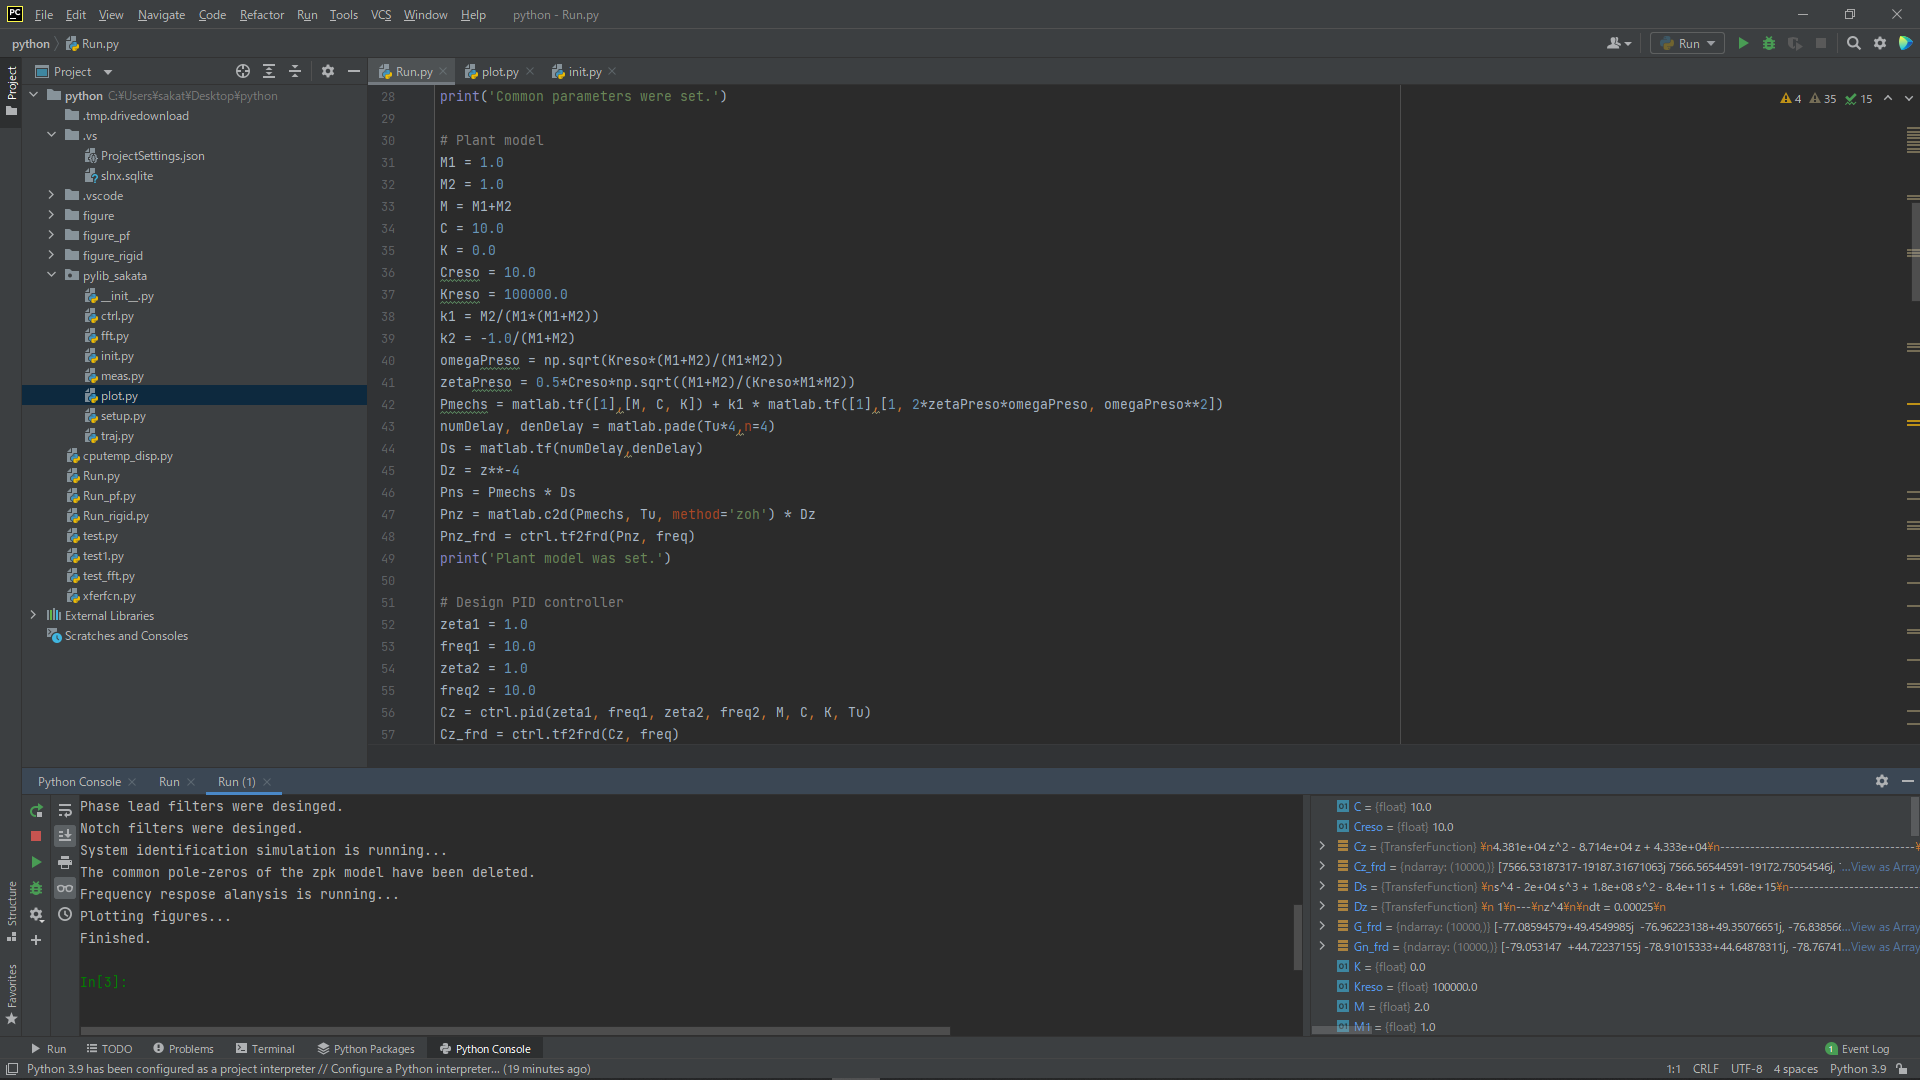
3 PyCharm
PyCharm is a professional-grade IDE developed by JetBrains. The Community Edition is free and more than sufficient for control system development and general programming.
3.1 Installation
- All OS: Download the Community Edition HERE.
3.2 Initial Setup
PyCharm typically detects your Python installation automatically during project creation, so no immediate manual configuration is required.
4 Comparison: VS Code vs. Spyder vs. PyCharm
| Feature | Visual Studio Code | Spyder | PyCharm (Community) |
|---|---|---|---|
| Cost | Free | Free | Free |
| Boot Speed | Fast | Slow | Moderate |
| Performance | Excellent | Good | Good |
| REPL Mode | Via Terminal/Interactive | Built-in Console | Built-in Console |
| Variable Explorer | Available (via Jupyter) | Best-in-class | Excellent |
| Best For | General Purpose / Web | Data Science / Research | Large Projects |
Recommendation:
- Spyder is superior for early-stage debugging and data exploration due to its intuitive Variable Explorer.
- VS Code offers a modern, high-speed experience ideal for scripting and late-stage development.
- PyCharm provides the best balance of features and automated environment management. It is my overall top recommendation.